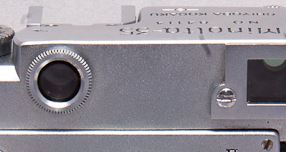
OK, so after the last restoration I will continue on with the next ones … which also needs the expected shutter curtain replacement.
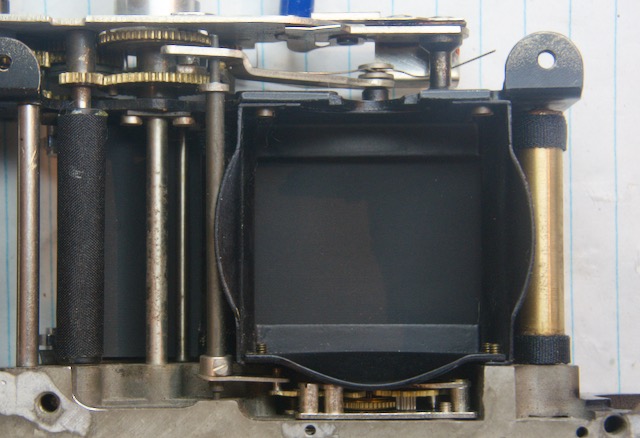
This time I will not take apart the gearing section to remove/free the rollers to avoid having to reposition all the gears … also I looked at the the possibility of replacing the curtains with just taking the film plane cover off only … not. Might as well take the innards out to do an clean … especially all those tiny black bits of the shutter curtain that have flaked off all those years.
Roll the film!!!
I examined one of the camera’s that I have with the old curtains still attached to see where they sit. The first curtain lath was taken up on the spring roller, and the second curtain lath sat just before the thin roller.
OK, so lets play around with positioning.
Set the shutter mechanism in its released position … move the gears it necessary.
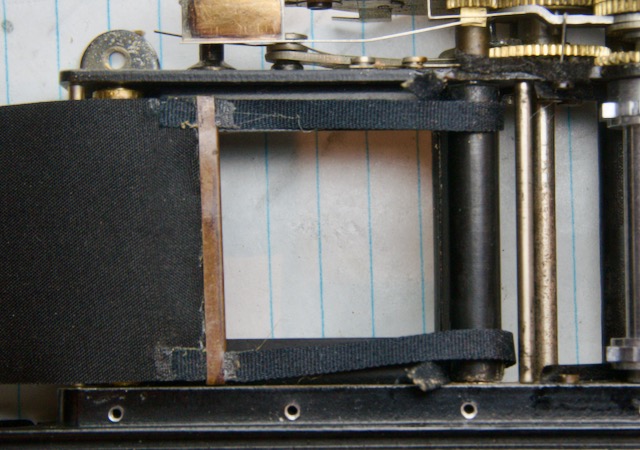
I placed the first curtain on top of the left roller to see how much material I had. This time I place the lath left screw hole so it is sitting on top of its spring roller and 0.4mm before the thin roller … then I fed the tape over and around the black roller. Glued both tapes on the roller and checked the lath so that it is parallel with the thin roller.
Glue the curtain to the spring roller on the left. From the bottom turn the spring wind up screw until it starts winding up the curtain … do not over do it.
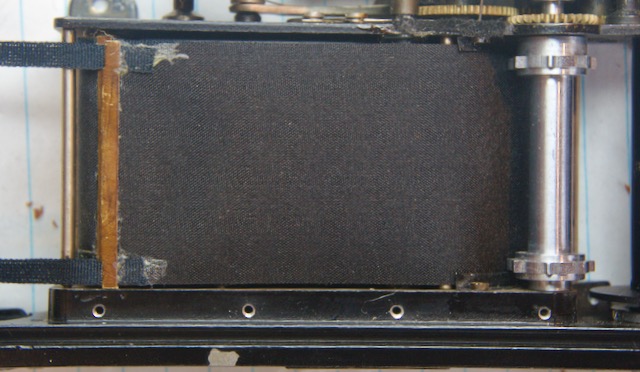
Wind up the shutter and release … watch that the first curtain moves freely. Next up is the second curtain. I positioned the lath to sit on top of the thin roller … and let that set.
OK, so now to check the shutter … looks good. The timing of the higher speeds was pretty good, but I ran into a problem with the low speeds.
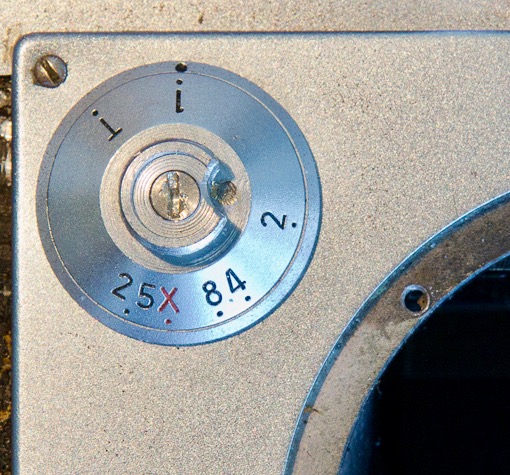
The speeds 1/25s and lower are controlled by the slow speed escapement gears. When the 25-1 speed is set … when the shutter is triggered the first curtain is released. A spring on the bottom of the camera is pressed which pushes the slow speed post upwards. When the second curtain is released the pin under one of the gears contacts the arm at the top of the slow speed post. This forces the arm to revolve. At the bottom of this arm it engages the gears of the escapement, thus slowing the release at the post turns.
What I found out is that if the second curtain lathe is positioned to the far left it will be seen slowly move across the film gate opening. So as the slow speed arm is rotating, the second curtain roller is slowly unfurling the curtain, before it is finally released. So this means the film is not exposed equally (underexposed on one side).
I have to remove the curtains and move the lath position further away from the spring rollers … I did figure out that the lath positioning from the previous post was correct, let it sit on the last bottom screw hole.
Back to square one.
First curtain tape gets attached to black roller. Reposition the length so that the lath is sitting on last screw hole and tension on tape is equal. Then attach the curtain to the spring roller.
Next up is the second curtain.
I attached the curtain first. Pass it through the guides then through to the roller. I sat the lath past the first one by about 1mm … then I attched the tape, making sure they both have equal tension.
Speed check. First release the spring tension on both rollers. Then put two rotations on the first curtain and three on the second … check shutter speeds between 1/35-1/500s. I like to increment 1/2 rotations after this to speed up the timing.
Once you are satisfied with the tension you can tackle the slow speeds. If the slow speeds are off, take of the slow speed dial cap (should be a single grub screw). In the middle there is a screw. There are three grub screws securing that inner screw, so loosen those slightly … turn the inner screw, no more than 1/2 degree increments … clockwise to slow it down.
OK, put everyting back together.
Rangefinder alignment tip … do the horizontal first as it does affect the vertical.
Horizontal is done by unscrewing the circular cover of the port, then turn the inside element. The vertical is done through a hole beside the viewfinder window. Take off the large screw and insert a small screwdriver to turn the grub screw.

